About Me

My photo
Stockport, United Kingdom
Spud is obsessed with all things wheeled, both with an without engine's. 2006 Open class uk champion at Boardercross racing mountain boards, his knee's have since given up and he spends more time on his bikes both with and without engines.

Sunday 16 September 2012

The Trip Out 2012


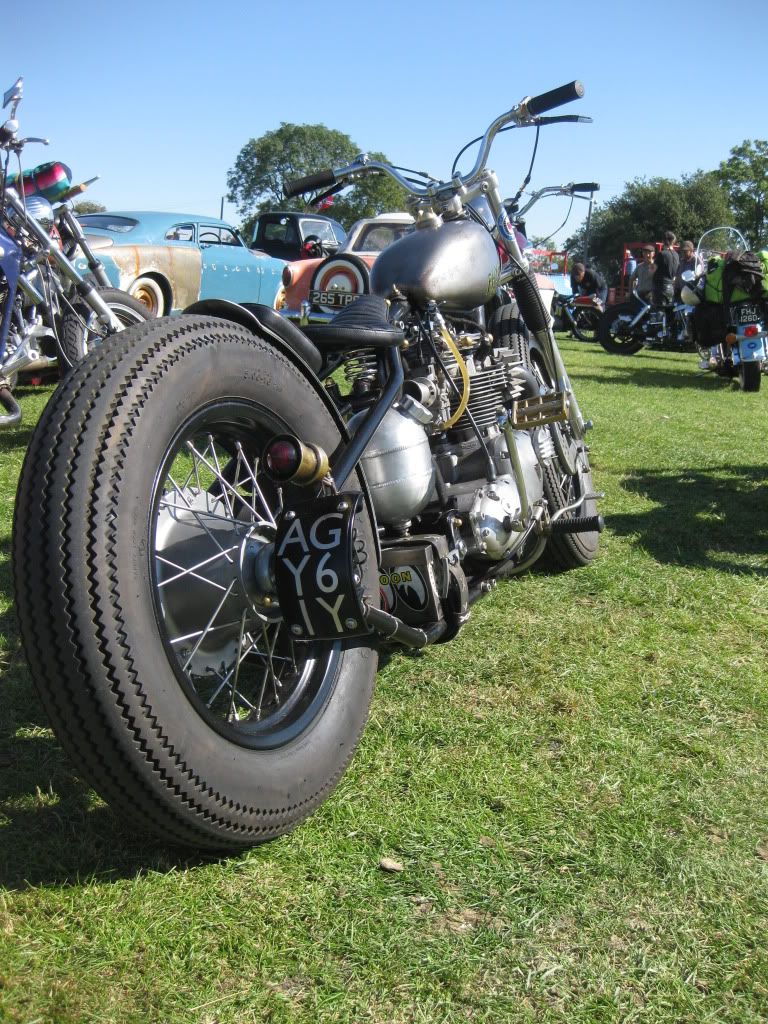
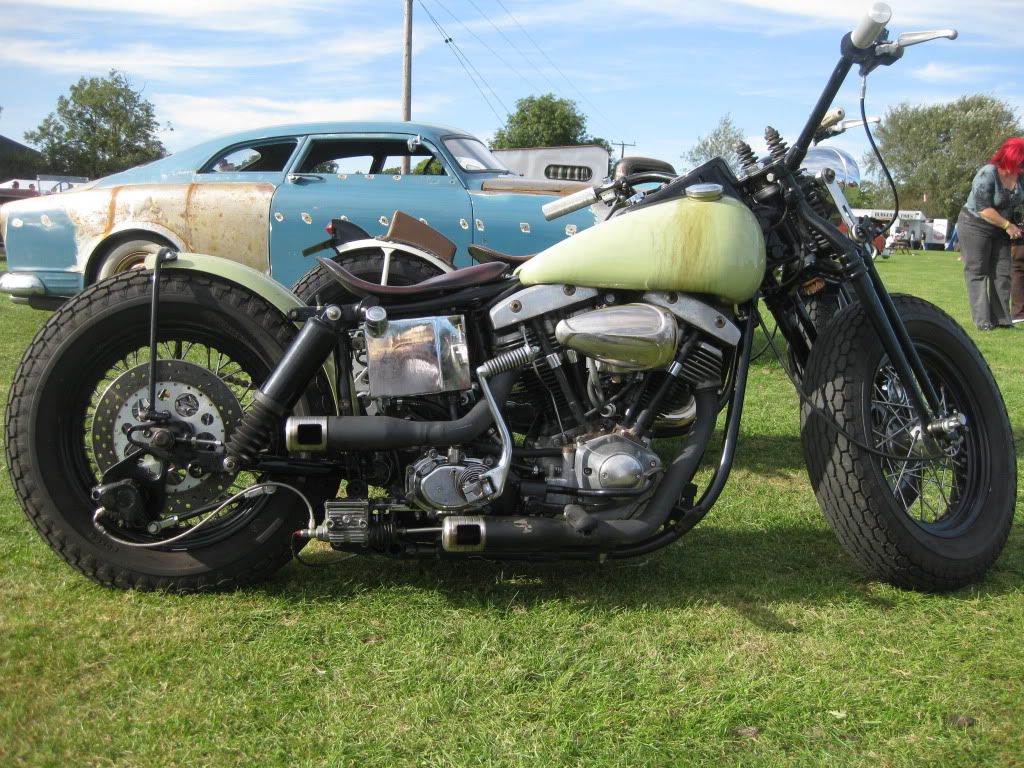
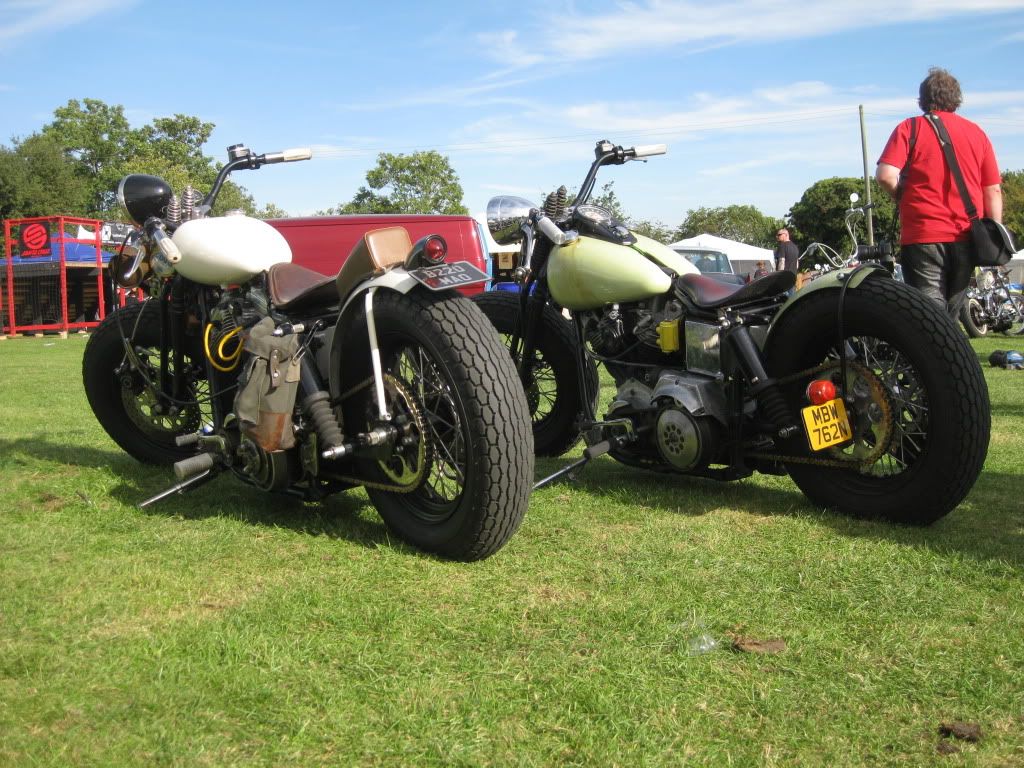
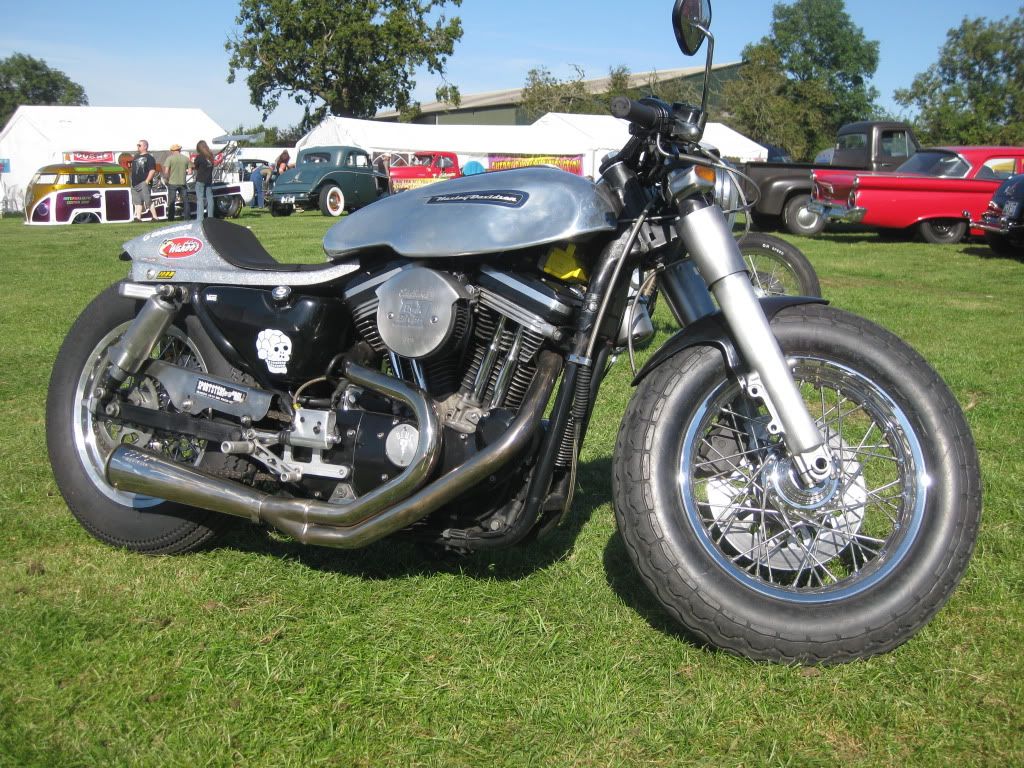
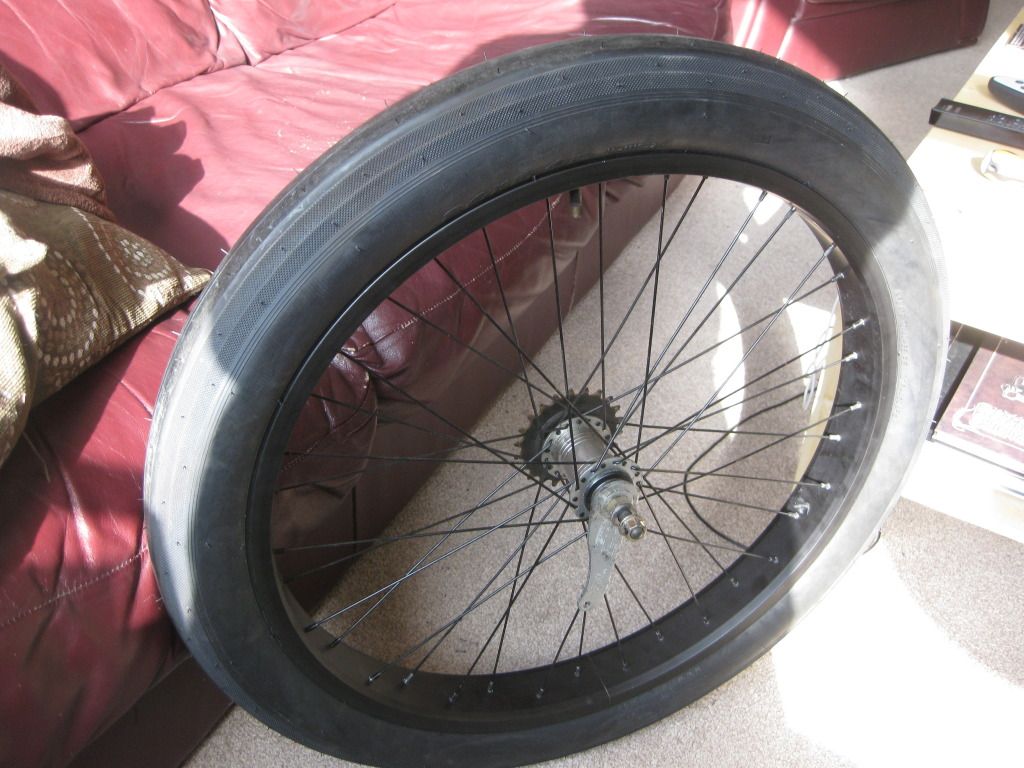
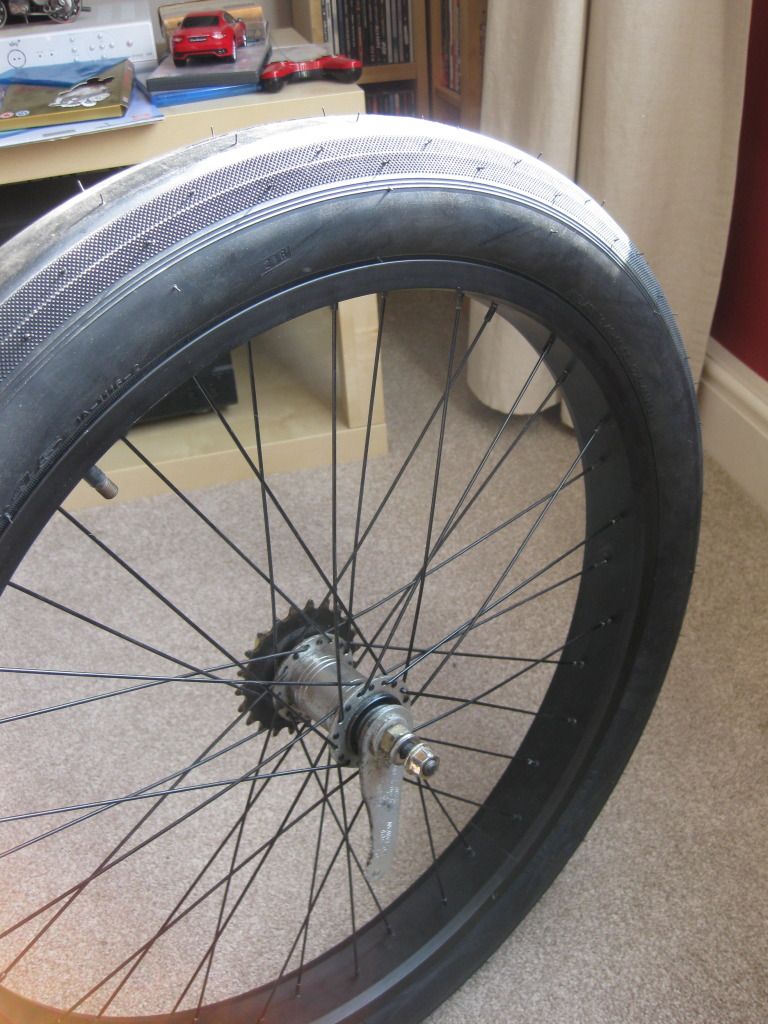
What blew me away the most, was that literally every bike there was awesome and would of been happy to have it in my garage. The bikes in the bike show were all really cool and it was amazing to see Toddys Triumph in the flesh, (what an immaculate work of art) but even a walk around the camping field had me reaching for my camera at every other step.

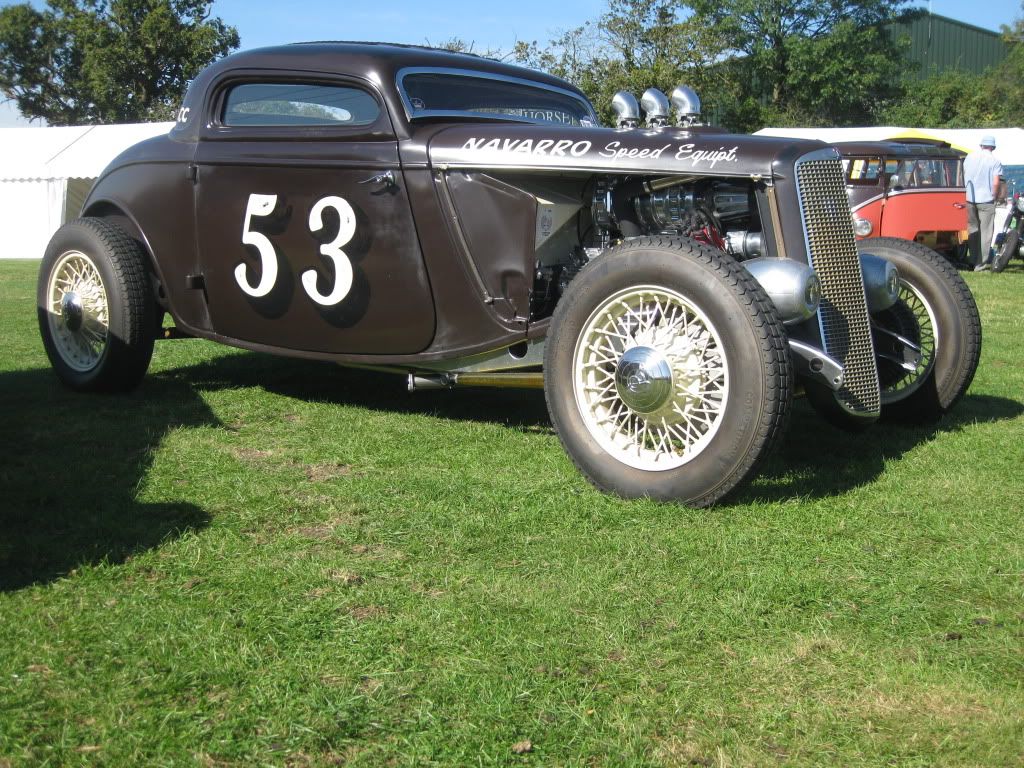
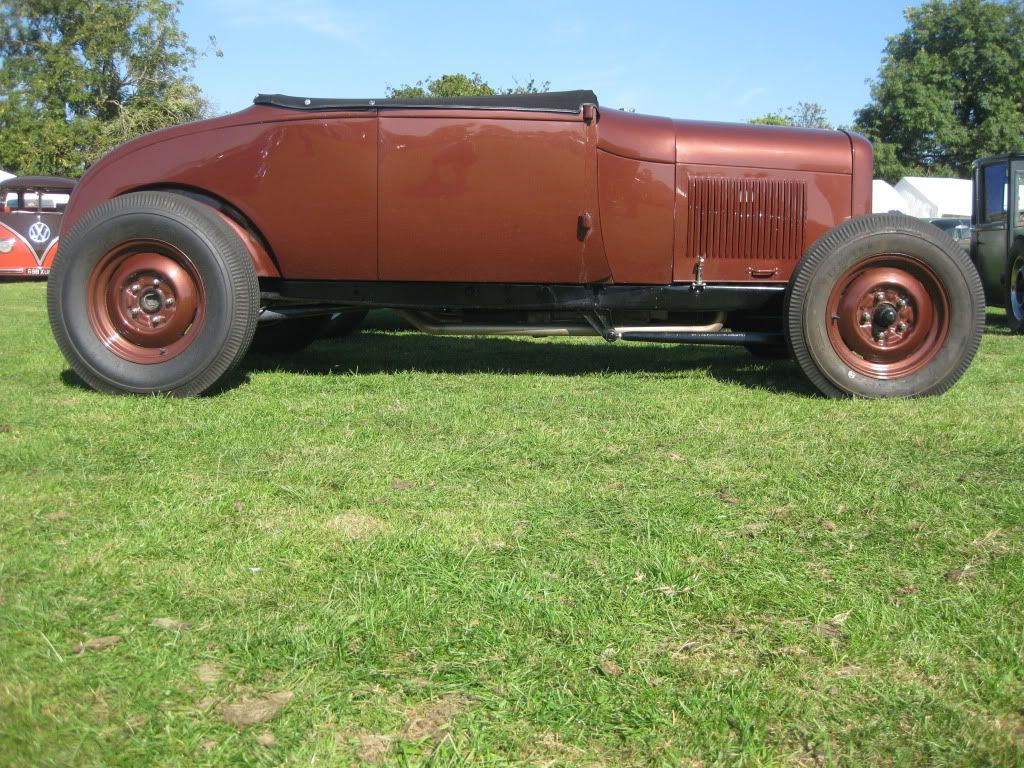
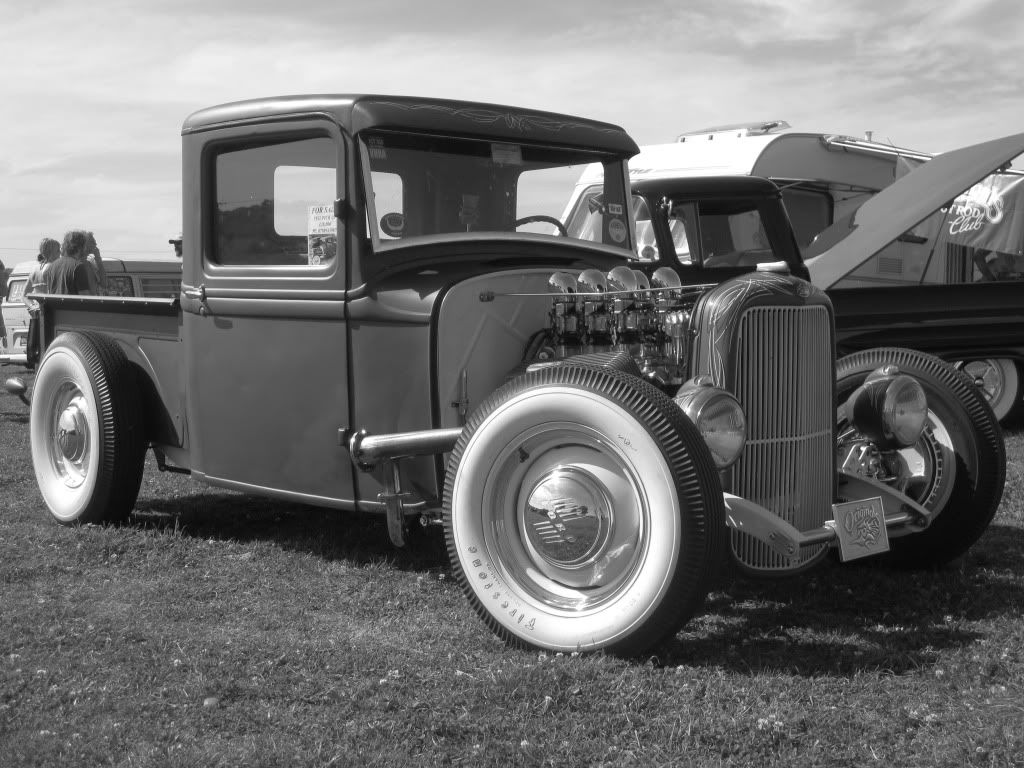
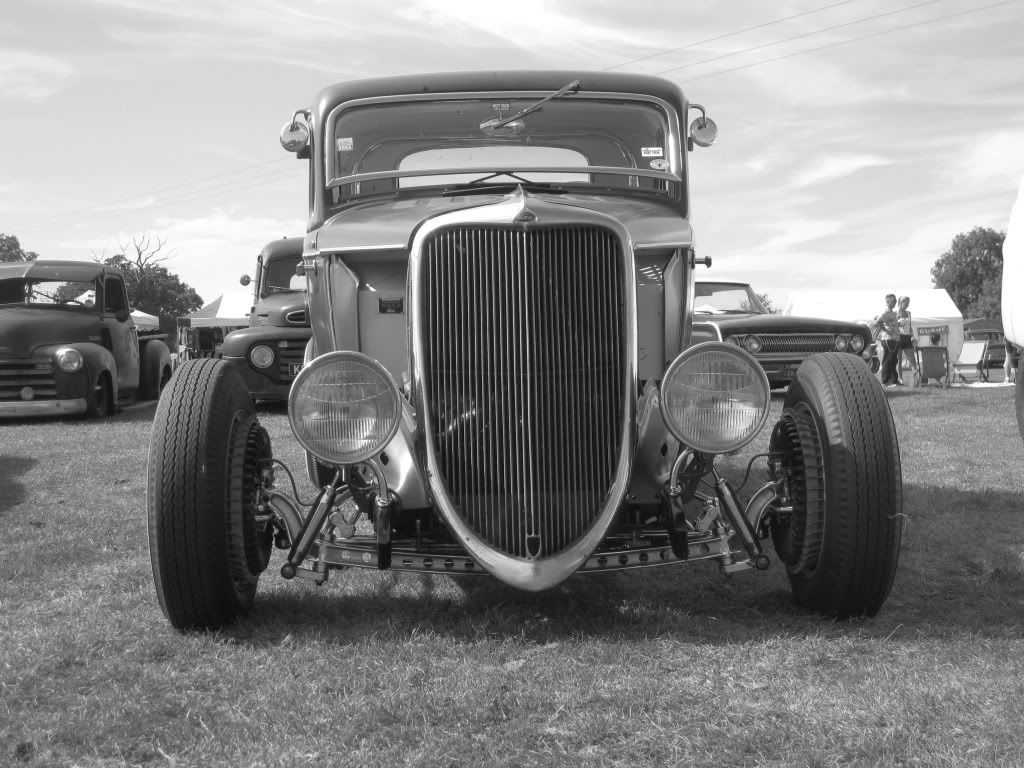
The cars totally blew me away too, all shapes and sizes but every one of them an awesome vehicle I would of been happy to take home. The size of some of those cars in real life is just mental, they are absolutely huge and must be real pain in the ass to manoeuvre around on out british roads.

Add to that the skateboarding, superb atmosphere, great merch stalls, a free copy of the new issue of Dice, two great nights of bands, reasonable beer prices, and the sun cracking the flags all weekend long it was an great event, and one that I'll be heading to next year for sure if I can.


Monday 27 August 2012

New Project

Well, inspite of the board tracker bike not being properly finished, and being right in the middle of moving house away from my workshop and working flat out on my old house to get it ready to rent, I thought it would be a good idea to sidle myself with another project.

So here in all its errrrr glory? is the little Honda C200 I've just bought.


Current plan is to leave it rough as guts and just get it functioning properly with fresh brakes and bearings etc where needed, lob a chinese pit bike engine in it and get it on the road. Once thats done, it'll get a bobbed rear end, some phater rims and tyres and possibly a different front end with a disc brake.

Wednesday 20 June 2012

Rear wheel pretty much  finished, spokes could probably do with another quarter turn and I've not checked the dish but I just wanted to see how fucking phat the new tyre rim combo is. I'm pretty pleased


Saturday 16 June 2012

Got new rims for the board tracker, here's an old and new for comparison.

New ones are a touch wider, got some super big slick tyres to go on too, should look awesome with those tyres on these rims.

Rim swop onto the rear hub is almost finished, the front wheel will be an entirely new build onto a sturmey archer hub brake hub


Sunday 13 May 2012

Sunday 22 April 2012

Finally there's been a bit more progress on the tank, the bottom and the two front panels are fully welded on, I've checked the welding as best I can at this stage by going into a pitch black room and shining a super bright LED down the welds. I'm still not sure if it will hold petrol but I'll test with soapy water and some air once I've welded the top of the tank on, fuel tap fitting in and tank filler on. I got a lucky break the other day and found the custom fasteners website, they have a weld in bayonet style petrol tank inlet for £4.95 and appropriate tank caps for £9.95, not bad. Photobucket Photobucket Photobucket

Friday 20 April 2012

It lives

Finally got this bad boy through an MOT and on the road. Had to ditch the battery eliminating capacitor I'd fitted, and go back to a battery, because the indicators have 21w bulbs and the front and rear lights were dimming when the indicators came on. Good job I didn't get carried away and start chopping off all the mounting points for the battery like I nearly did. All is not lost tho, I plan on fitting LED indicators (along with appropriate flasher relay of course) and seeing if that solves the issue so I can ditch the battery again, clean up the lines of it all and lose a bit of weight, although to be honest, if I take a dump before I go for a ride there will probably be an equivalent weight loss. Still it does look smart without the battery. Photobucket

Monday 12 March 2012

Time for an update, starting to move house and lots of DIY at home have been getting in the way of project time but thanks to Wednesday nights at college I've made a bit of progress on the tank

Photobucket

Photobucket

Photobucket

Photobucket

Photobucket


I've a fake oil tank effort to cover the battery that goes behind the bottom of the seat tube no pics of that as yet but I'll get em up soon.

Friday 9 March 2012

DIY stops play

Been busy DIYing of late,so the fun stopped on the board tracker

My Gates (the draw bridge is still under construction)

Photobucket

The bathroom

Photobucket

Photobucket

Photobucket

Sunday 15 January 2012

The bars and the big reveal

The bars, well these came from a mates shed along with the seat. Originally from an old bike with rod brakes, the rods were long gone but the lugs on the bars were still there an the stem was brazed to the bars. I was very surprised to find that the lugs for the rods un screwed from the bars and a little hemispherical nut fell out the end of the bars once the lugs were fully un screwed, a little heat from a blow torch was a help here as they were badly rusted.
The stem was a little harder to remove. I cut a slit along the stem in two places half expecting to find the bars were in two halfs but they weren't. I applies heat to the stem where it was round the bars with an oxy acetalene torch to melt the braze, then with the bars clamped firmly in a vice and a thick welding gauntlet I was able unpeel the stem from round the bars. The double slitting of the bars was a bi mistake as I was left with a piece left stuck to the bars, more heat and some screw driver prizeing action helped get rid of it. All I had to then was weld up the holes from the lugs, which I did with the oxy, my first time properly gas welding and it came out ok with a bit of cleaning up. Here's the finished product,

Image

Image

Image

Well that's a lot of the first mods covered so I guess its time for the big reveal to show you the full bike as it stands so far

Image

Sunday 1 January 2012

The next stage

Ok then, the next step was to chop the seat post and re weld so the seat would sit level and further back with the part of the post that the seat was clamped to would sit hidden up above the seat rails.

So it was out with my old protractor from my school pencil case which hasn't seen the light of day in years, and a small spirit level. With the protractor against the seat tube and the spirit level on the flat bottom of the protractor, I tilted the protractor until the spirit level was level and then read the angle off the protractor.

This was my angle to chop the seat post at, to make sure I got it right, I cut the angle onto a short length of 2x3 then clamped the seat post to the length of wood and used the angled end as a guide to rest my hacksaw blade against as I was sawing it. No pics of this I'm afraid I just dived straight in and did it all.

Once cut, I welded the post back together to make an extreme lay back post of sorts and create the look I want (It did take a fair while to clean up the weld to get the join looking neat)

Add a really nice old battered Brooks B17 saddle and we're starting to get there

Image

Image

Then move the front mudguard to the rear

Image

The next move was to ditch the apes and fit the bars that I'd sorted out, need to take some pics of them so more on that next post.